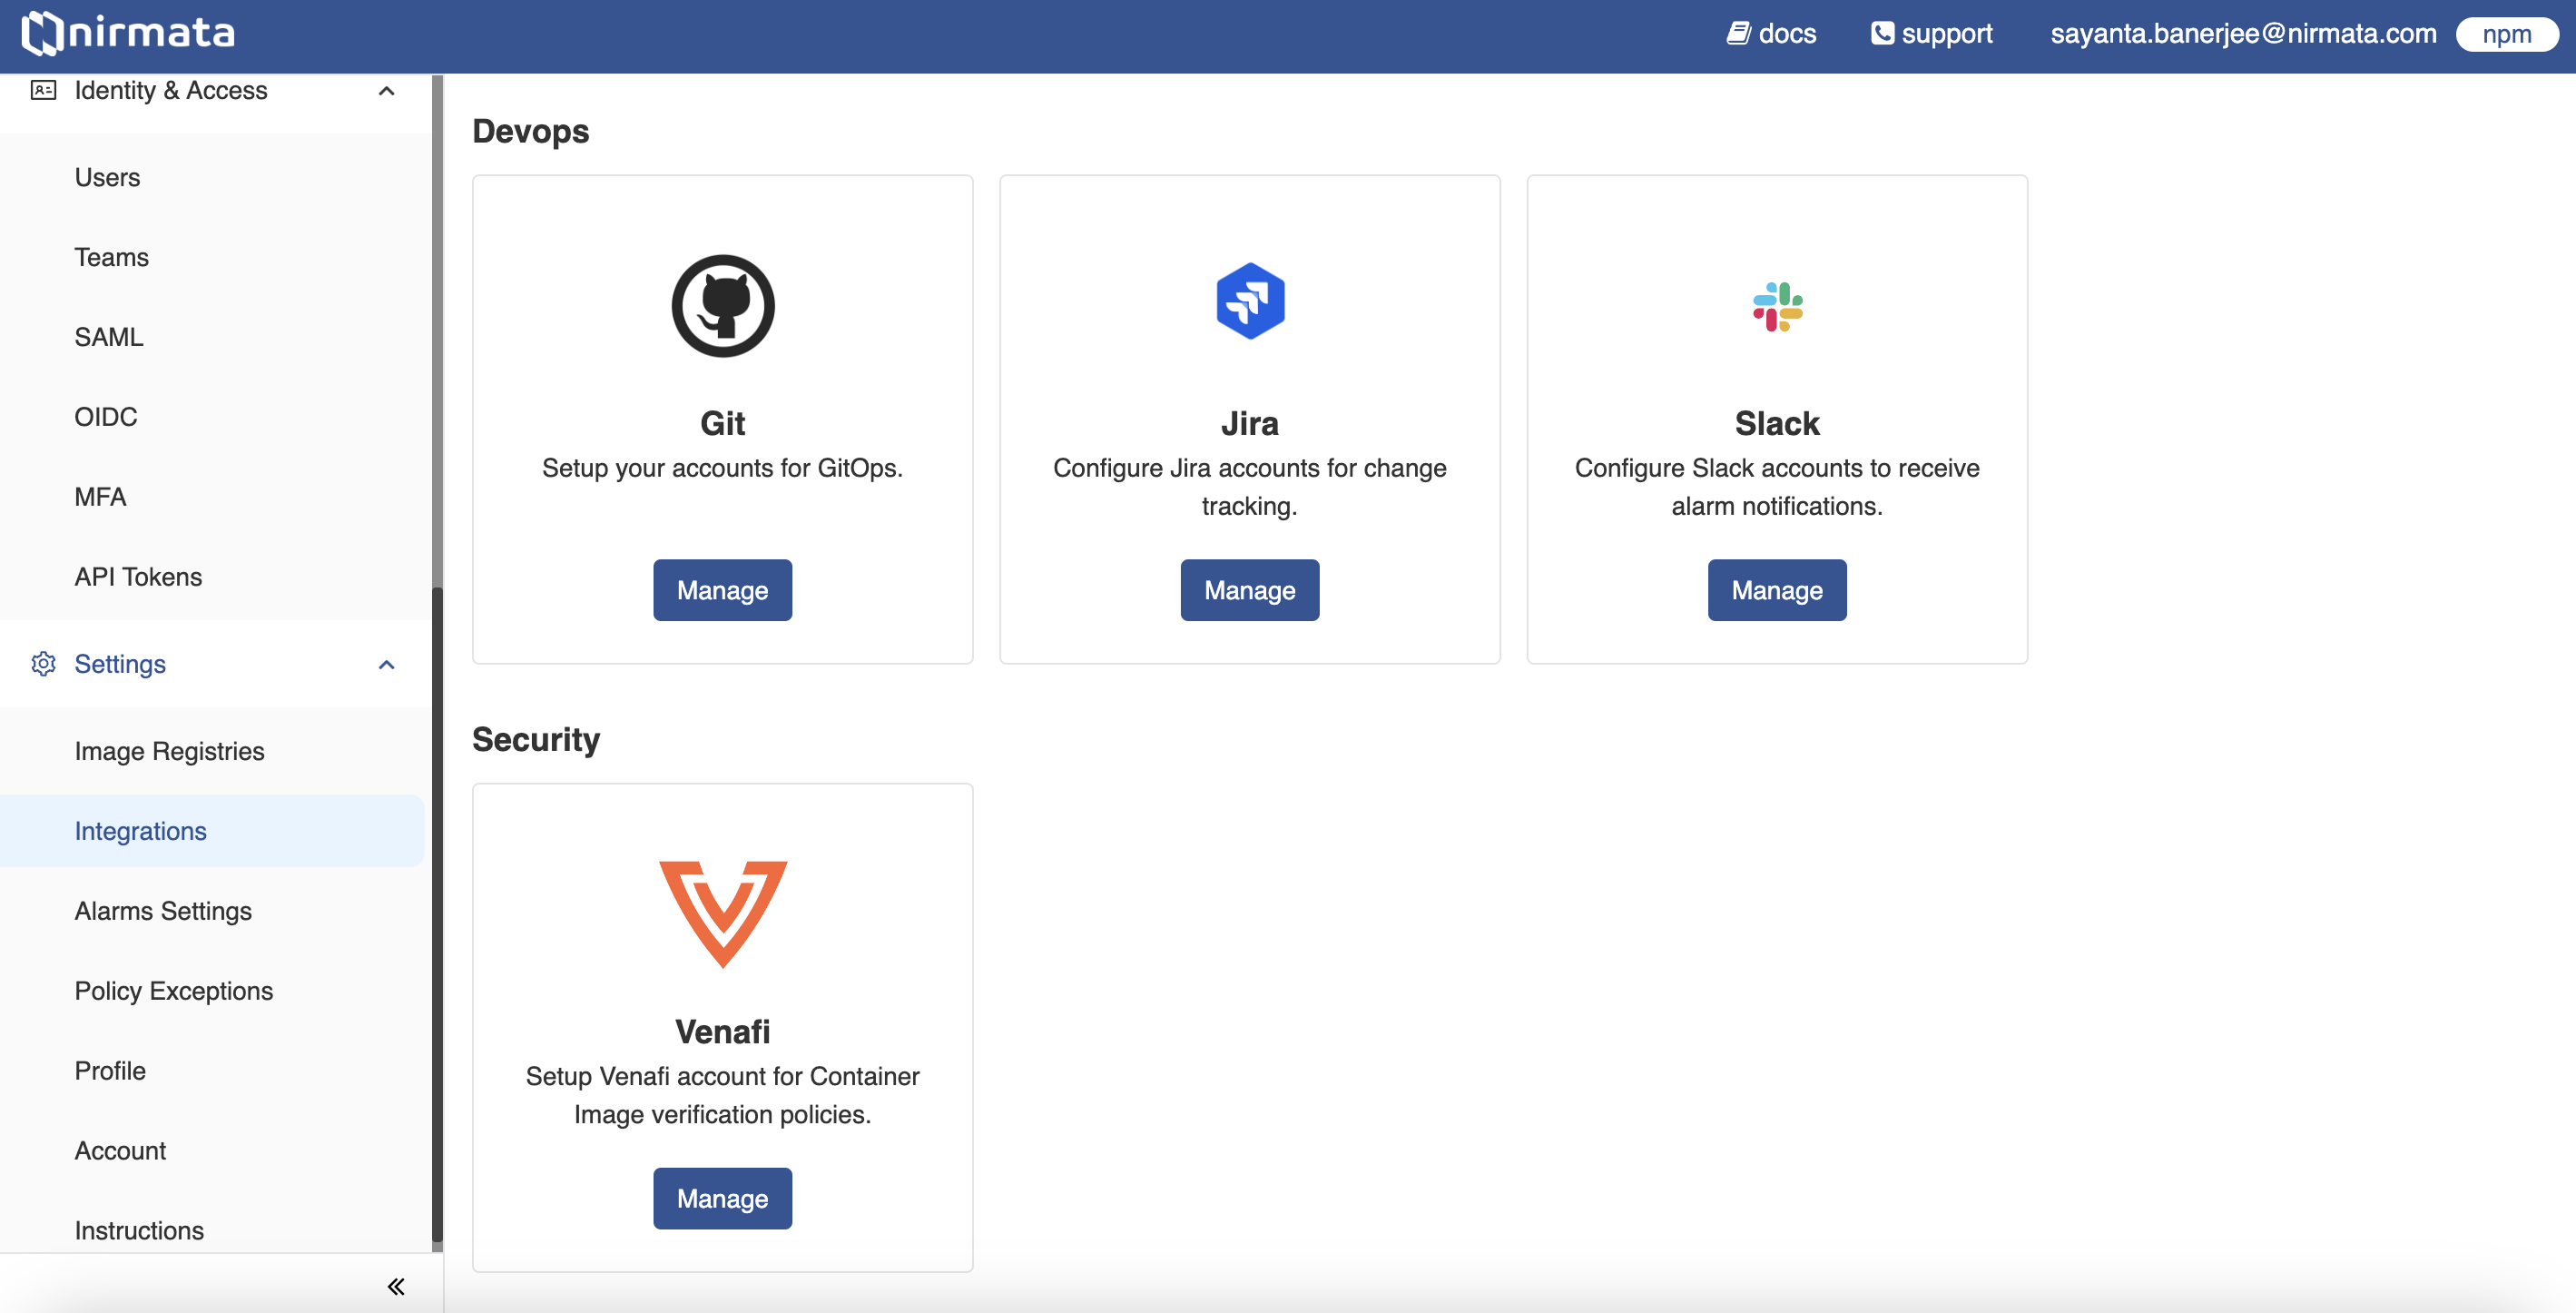
Integrations
The Integrations section in Settings allows integration of the Nirmata platform to third-party applications like Git, Slack, Venafi, and Jira.

Git
Nirmata users can integrate Git to set up accounts for GitOps. To configure Git, click Add Git Credentials/Create Git Credentials and add the following Git details:
Name - A unique identifier for the Git Credential.
Username - Git username.
Password/ Key - Git password.
NOTE: You can add Access Controls to restrict access to Git Credentials.
Slack
Nirmata users can integrate Slack accounts to receive alarm notifications. To configure a Slack account, click Add Slack Credentials/Create Slack Settings and add the following Slack credentials:
Name - Name of the Slack account.
API Token - API access token for the account.
Note: Validate the API Token by clicking on the Validate API Token button.
Venafi
Nirmata users can integrate the Venafi security system by setting up Venafi credentials. To configure Venafi credentials:
Click Add Venafi Settings.
Enter the following Venafi credentials to add the Venafi security configuration, and click Add.
Name - Name of the Venafi integration.
Auth URL - The authentication URL for the Venafi Trust Protection Platform (TPP).
HSM URL - The HSM URL for the Venafi Trust Protection Platform (TPP).
Username - Venafi Trust Protection Platform username.
Password - Venafi Trust Protection Platform password.
Additional Trusted Certificate (Optional)
Jira
Nirmata users can configure Jira Change Management to automatically track application changes in Jira. To configure and integrate Jira:
Click Create Jira Settings or Add Jira Settings.
Enter the following Jira account details: Name, Address, Username / Email, and Password.
Select the Accept All Certificates checkbox if you want to add the certificates.
Click Next.
Enter Project Key, Priority Type ID, Issue Type ID, and click Next.
Add Access Control Policy and click Finish.
